 HOT
HOTTailkits UI
MCPBuild landing pages with AI
Explore high-performance Angular components. Angular components leverage dependency injection and change detection to enhance app responsiveness and flexibility.
 HOT
HOTBuild landing pages with AI
 HOT
HOT959 Shadcn blocks & 10+ templates
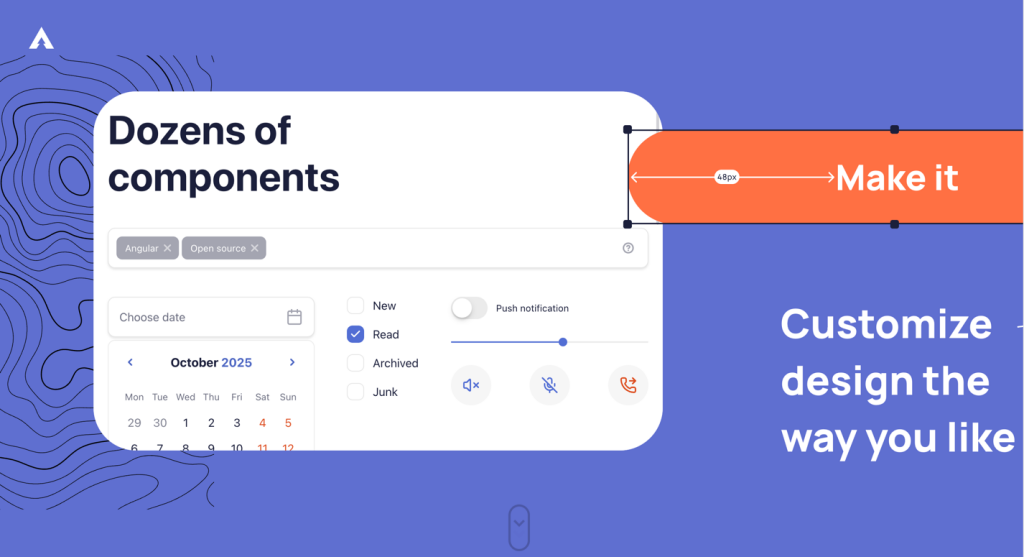
Angular component kit with 130+ building blocks
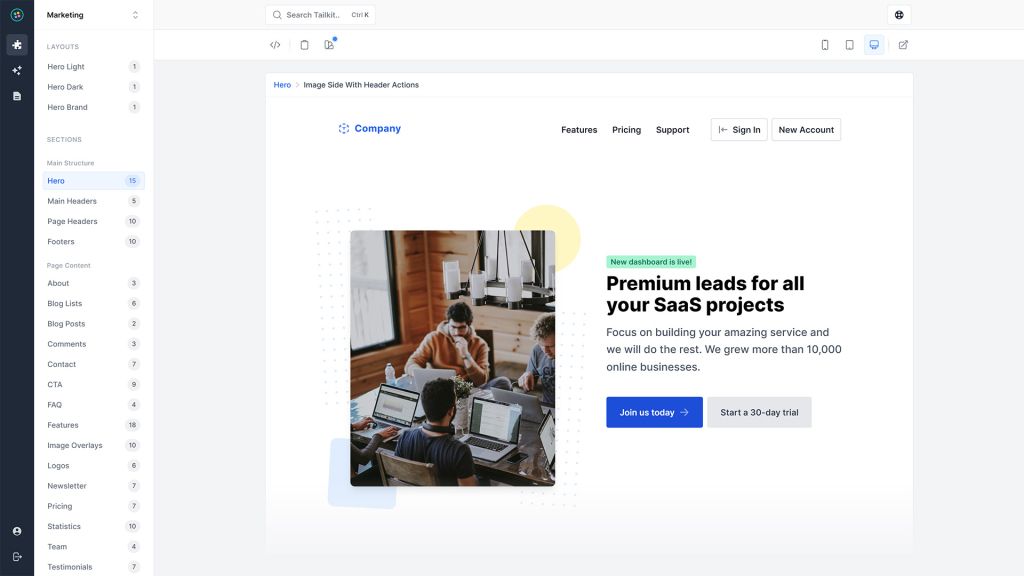
600+ ready-made Tailwind CSS components

Accessible Angular UI primitives, Tailwind ready
450+ UI components for Tailwind CSS
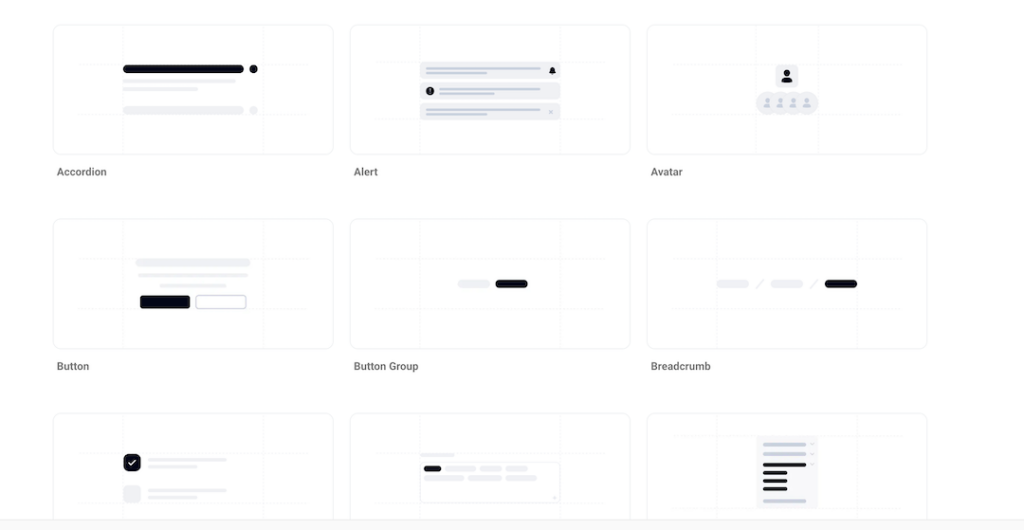
Flexible Angular components with Tailwind
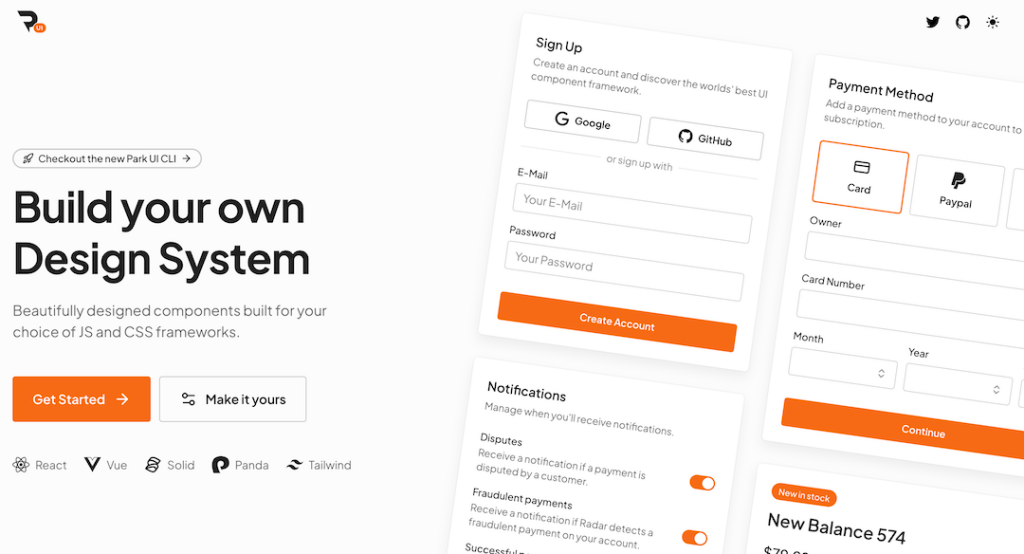
Tailwind-powered UI kit for React, Vue & Solid
Production-ready Tailwind components for React, Next.js, Vue & HTML. Responsive, accessible UI blocks optimized for Tailwind v4 with MCP integration.
 HOT
HOT959 shadcn/ui blocks for Tailwind
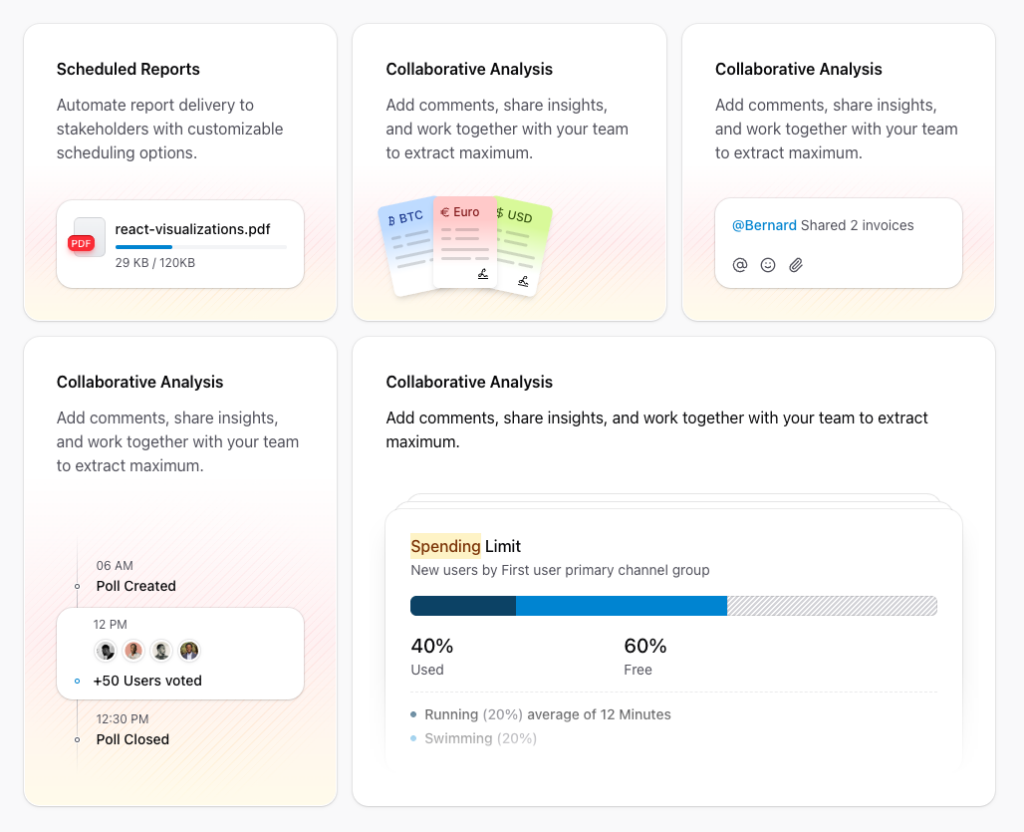
Free and premium Shadcn blocks
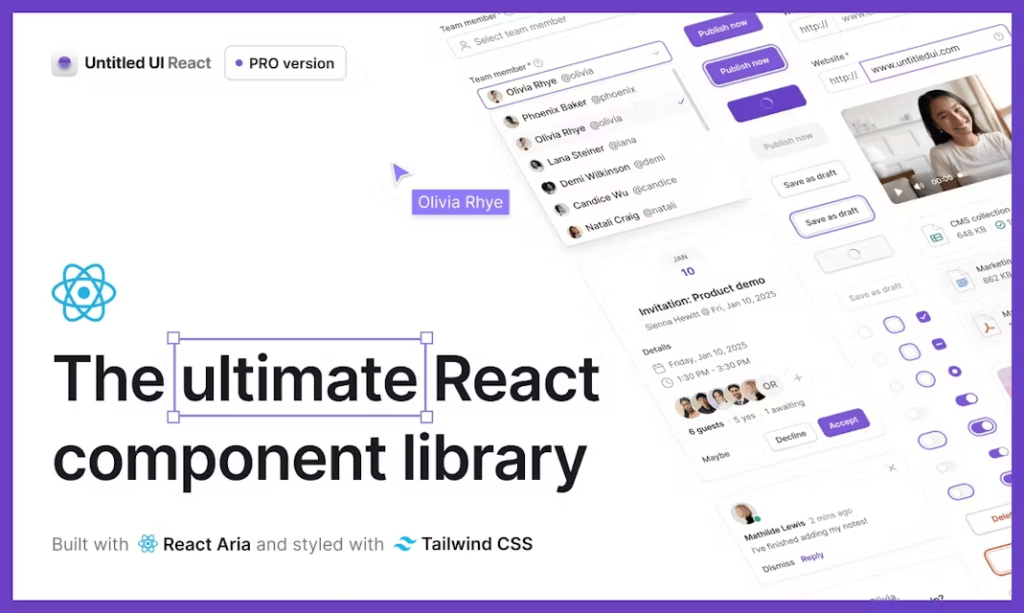
5 000+ Tailwind React components
Angular has established itself as a robust framework for building dynamic and scalable web applications. A key element that empowers Angular's flexibility and power is its Angular Components. Angular components serve as the foundational building blocks for creating modular, reusable, and maintainable user interfaces.
At its core, an Angular Component is a TypeScript class adorned with metadata that defines its behavior, template, and styling. Components encapsulate a portion of the user interface, managing both the presentation and the logic associated with that UI segment. This encapsulation promotes modularity, allowing developers to build complex interfaces by composing smaller, manageable pieces.
An Angular Component typically consists of three primary parts:
Decorator (@Component): Provides metadata about the component, including its selector, template, and styles.
Class: Contains the business logic, data properties, and methods that drive the component's behavior.
Template: Defines the HTML structure and how data binds to the view.
Styles: Encloses CSS or SCSS styles scoped to the component.
Here’s a brief look at the structure:
import { Component } from '@angular/core';

@Component({
  selector: 'app-greeting',
  templateUrl: './greeting.component.html',
  styleUrls: ['./greeting.component.css']
})
export class GreetingComponent {
  name: string = 'World';

  greet() {
    return `Hello, ${this.name}!`;
  }
}
In this example, GreetingComponent displays a greeting message, demonstrating the basic structure of an Angular Component.
Angular's powerful data binding mechanisms allow seamless synchronization between the component's data and the view. There are several types of data binding:
Interpolation ({{ }}): Binds component data to the template.
Property Binding ([property]): Binds data to an element’s property.
Event Binding ((event)): Binds events in the template to methods in the component.
Two-Way Binding ([(ngModel)]): Combines property and event binding for form inputs.
@Input(): Allows a parent component to pass data to a child component.
@Output(): Enables a child component to emit events to a parent component.
import { Component, Input, Output, EventEmitter } from '@angular/core';

@Component({
  selector: 'app-child',
  template: `<button (click)="notifyParent()">Click Me</button>`
})
export class ChildComponent {
  @Output() clicked = new EventEmitter<void>();

  notifyParent() {
    this.clicked.emit();
  }
}Angular Components go through several lifecycle phases, and Angular provides hooks to tap into these phases:
ngOnInit: Called once the component is initialized.
ngOnChanges: Called when input properties change.
ngOnDestroy: Called just before the component is destroyed.
These hooks allow developers to execute code at specific points in a component's lifecycle, enabling tasks like data fetching, cleanup, and more.
Angular's built-in dependency injection system allows components to receive services and other dependencies. This promotes code reuse and modularity, making applications easier to manage and test.
import { Component, OnInit } from '@angular/core';
import { DataService } from './data.service';

@Component({
  selector: 'app-data',
  template: `<div>{{ data }}</div>`
})
export class DataComponent implements OnInit {
  data: string;

  constructor(private dataService: DataService) {}

  ngOnInit() {
    this.data = this.dataService.getData();
  }
}
Creating and using Angular Components is intuitive. Let's walk through creating a simple Button component and integrating it into another component.
Using Angular CLI, you can generate a new component with a single command:
ng generate component buttonThis command creates the necessary files and updates module declarations automatically.
Here’s a simplified version of what the ButtonComponent might look like:
import { Component, Input, Output, EventEmitter } from '@angular/core';

@Component({
  selector: 'app-button',
  template: `<button (click)="onClick()">{{ label }}</button>`,
  styles: [`button { padding: 10px 20px; font-size: 16px; }`]
})
export class ButtonComponent {
  @Input() label: string = 'Click Me';
  @Output() clicked = new EventEmitter<void>();

  onClick() {
    this.clicked.emit();
  }
}In the parent component's template, you can use the ButtonComponent as follows:
<app-button label="Press Me" (clicked)="incrementCounter()"></app-button>
<p>You have clicked the button {{ count }} times.</p>
And in the parent component's class:
export class ParentComponent {
  count: number = 0;

  incrementCounter() {
    this.count += 1;
  }
}
This setup showcases how components can interact through property and event bindings, promoting reusability and clean separation of concerns.
The @Input decorator allows a parent component to pass data down to a child component. This promotes reusable and dynamic components.
@Input() title: string;The @Output decorator enables child components to emit events that parents can listen to, facilitating communication from child to parent.
@Output() notified = new EventEmitter<string>();Imagine a ProfileCard component that receives user data from a parent and emits an event when a "Follow" button is clicked. This interaction exemplifies how @Input and @Output work together to create interactive and reusable components.
Event handling in Angular is straightforward. Components can listen to DOM events and execute corresponding methods.
Events are bound in the template using the (event) syntax:
<button (click)="handleClick()">Click Me</button>In the component class:
handleClick() {
  console.log('Button clicked!');
}Components can emit custom events to notify parent components of specific actions.
@Output() customEvent = new EventEmitter<string>();

triggerEvent() {
  this.customEvent.emit('Event Payload');
}
In the parent component's template:
<app-child (customEvent)="handleCustomEvent($event)"></app-child>This mechanism allows for flexible and decoupled communication between components.
Content projection allows you to insert content into a component from the parent. It provides greater flexibility in component design.
<!-- Parent Component -->
<app-card>
  <h2>Card Title</h2>
  <p>Card content goes here.</p>
</app-card>
<!-- Card Component Template -->
<div class="card">
<ng-content></ng-content>
</div>Angular allows the creation and insertion of components dynamically at runtime, enabling more complex and interactive UIs.
Angular provides different strategies for encapsulating component styles, ensuring that styles do not leak into other components unintentionally:
Emulated: Default mode that emulates Shadow DOM by scoping styles.
ShadowDom: Uses the native Shadow DOM.
None: No encapsulation; styles apply globally.
Keep Components Small and Focused: Each component should have a single responsibility. This enhances readability, maintainability, and reusability.
Use Descriptive Names: Clear and descriptive names for components and their selectors make the codebase easier to navigate and understand.
Leverage Angular CLI: Utilize Angular CLI commands to generate components, ensuring consistency and adherence to Angular standards.
Encapsulate Styles: Use view encapsulation to scope styles to components, preventing unwanted style leakage and conflicts.
Use OnPush Change Detection: Optimize performance by using ChangeDetectionStrategy.OnPush where applicable, reducing unnecessary change detection cycles.
Avoid Business Logic in Components: Keep components focused on the view. Delegate business logic to services to promote separation of concerns.
Document Components: Provide clear documentation for component inputs, outputs, and functionalities to facilitate collaboration and future maintenance.
UI Elements: Buttons, input fields, modals, and other interactive elements.
Layout Components: Headers, footers, navigation bars, and sidebars that structure the application.
Forms: Components that handle user input, validation, and submission.
Data Display: Tables, lists, cards, and other components for presenting data in organized formats.
Interactive Widgets: Sliders, date pickers, and other input controls that enhance user interaction.
Composite Components: Building complex UIs by combining smaller, reusable components.
By effectively utilizing Angular Components in these scenarios, developers can build rich and interactive user interfaces with ease.
Ensuring that your Angular Components are efficient and performant is essential for delivering a smooth user experience. Here are some optimization techniques:
By setting the change detection strategy to OnPush, Angular only checks the component for changes when its input properties change or an event originates from the component itself. This reduces the number of checks Angular performs, enhancing performance.
@Component({
  selector: 'app-optimized',
  changeDetection: ChangeDetectionStrategy.OnPush,
  template: `...`
})
export class OptimizedComponent {}
Lazy loading allows you to load components only when they are needed, reducing the initial load time of your application. This is especially useful for large applications where not all components are required immediately.
Use one-way data binding where possible to simplify data flow and reduce the complexity of updates. Avoid unnecessary two-way bindings unless required, as they can introduce performance overhead.
Batch updates and minimize direct DOM manipulations within components. Let Angular’s change detection handle updates efficiently to maintain optimal performance.
Keep template expressions simple and avoid complex logic within templates. Offload heavy computations to component methods or use computed properties to keep the templates clean and efficient.
Testing is a crucial aspect of developing reliable Angular applications. It ensures that components function as intended and helps prevent regressions. Here are common testing strategies:
Unit tests focus on testing individual components in isolation. They verify that components render correctly, handle inputs and outputs appropriately, and execute methods as expected. Tools like Jasmine and Karma are commonly used for unit testing in Angular.
Integration tests assess how multiple components work together within the application. They ensure that data flows correctly between parent and child components and that interactions between components behave as intended.
End-to-end (E2E) tests simulate real user interactions and verify that the entire application behaves correctly from the user’s perspective. Tools like Protractor (now deprecated) and Cypress are excellent choices for performing E2E tests, ensuring that user workflows function seamlessly.
Transitioning from another framework or vanilla JavaScript to Angular involves several steps to ensure a smooth migration:
Analyze Current Components: Understand the structure, functionality, and dependencies of your existing components to determine how they will fit into the Angular ecosystem.
Set Up the Angular Project: Initialize a new Angular project using Angular CLI, which provides a structured environment and necessary configurations for developing Angular applications.
Recreate Component Structure: Define new Angular Components that mirror the structure and behavior of your existing components. Utilize Angular’s template syntax, data binding, and directive system to replicate functionality.
Transfer Styles: Move your CSS or styling logic into Angular Components, using scoped styles or CSS Modules to maintain encapsulation and prevent conflicts.
Adapt State and Inputs/Outputs: Ensure that state management and data flow align with Angular’s reactive system. Use @Input for passing data to child components and @Output for emitting events to parent components.
Integrate Routing and Services: If your application uses routing or services, integrate Angular Router and Angular’s dependency injection system to handle these aspects effectively.
Test Thoroughly: Validate that the migrated components function correctly within the Angular application, addressing any issues related to rendering, data binding, or interactivity.
A systematic approach to migration preserves functionality while leveraging Angular's strengths, resulting in an optimized and maintainable application.
Angular Components are the cornerstone of building efficient, scalable, and maintainable web applications within the Angular framework. By encapsulating structure, behavior, and styling within components, developers can create reusable and modular codebases that are easy to manage and extend.
You can find answers for commonly asked questions about components.
Angular Components are part of a comprehensive framework that includes built-in support for dependency injection, routing, and state management. Unlike React, which is a library focused primarily on the view layer, Angular provides a complete solution out of the box. Compared to Vue, Angular offers a more opinionated structure with a steeper learning curve but greater scalability for large applications.
Yes, Angular is built with TypeScript, and all Angular Components are written in TypeScript. This provides strong typing, enhanced tooling, and better maintainability, making development more robust and error-resistant.
Communication between parent and child components is achieved using @Input and @Output decorators. Parents pass data to children via @Input properties, and children emit events to parents using @Output EventEmitters. Additionally, services can facilitate communication between unrelated components.
Angular Lifecycle Hooks are methods that get called at specific points in a component's lifecycle, such as when it is created, updated, or destroyed. They allow developers to execute custom logic at these stages, enabling tasks like data fetching, event listening, and resource cleanup, which are crucial for managing component behavior and performance.