Install Tailkits UI in VS Code with MCP
Use Tailkits UI components inside VS Code with MCP

Build cohesive Tailwind landing pages inside VS Code - without your AI guessing random spacing and typography.
Introduction
If you’ve tried generating Tailwind CSS websites with an assistant, you’ve probably seen the pattern:
Before MCP:
Sections look like they were designed by different people
Lots of prompt loops to fix spacing/typography
“Almost right” code that still needs cleanup
After MCP + Tailkits UI:
Your assistant can pull real, vetted Tailkits UI sections (200+ components) instead of improvising class soup
More consistent pages (hero → features → pricing → FAQ)
Faster “prompt → shippable layout” workflow
This guide shows how to connect Tailkits UI to VS Code Copilot Chat using MCP (Model Context Protocol). VS Code supports MCP servers (including remote HTTP/SSE servers) and lets you enable those tools directly in chat.

Prerequisites
Before you start, make sure you have:
VS Code 1.102+ (MCP support is generally available starting there)
GitHub Copilot access in VS Code (Visual Studio Code)
A Tailkits UI paid plan (to get an MCP token)
Your Tailkits UI MCP token from the Tailkits dashboard
Step-by-step installation guide
Step 1: Get your Tailkits UI MCP token
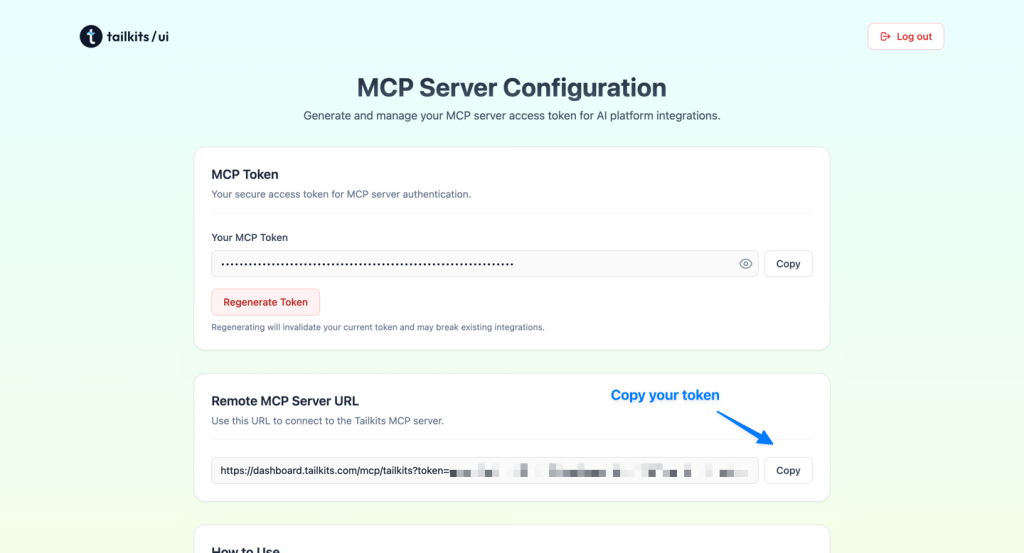
Log in to your Tailkits UI dashboard at → dashboard.tailkits.com
Navigate to the MCP Integration section → https://tailkits.com/ui/mcp-setup
Copy your MCP token (keep it private—treat it like an API key)
Tailkits uses this token in the MCP server URL (you’ll paste it into VS Code next).
Step 2: Add Tailkits UI as an MCP server in VS Code
You have two solid options. If you want the setup shared with your team, use workspace config. If you want it everywhere, use global config.
Option A: Add it to your workspace (.vscode/mcp.json) — recommended for teams
In your project, create:
.vscode/mcp.jsonAdd this configuration (uses an input variable so you don’t hardcode the token): (Visual Studio Code)
{
  "servers": {
    "github-mcp": {
      "type": "sse",
      "url": "https://dashboard.tailkits.com/mcp/tailkits?token=YOUR_TOKEN_HERE",
    }
  }
}
Why this shape?
Tailkits UI’s MCP URL pattern is the one Tailkits uses across their MCP setup guides.
Tip: VS Code can try HTTP streaming and fall back to SSE for HTTP-type servers, but using
"type": "sse"is the most explicit match for Tailkits’ published configs.
Option B: Add it globally (for all projects)
Open the Command Palette → run: MCP: Open User Configuration
Add the same server entry to your user
mcp.jsonfile (and optionally the input variable).
Step 3: Start the server and enable the tools in Copilot Chat
Open Copilot Chat in VS Code

Use the tool picker (Tools button) and enable the tools from tailkitsUI
If VS Code prompts you to trust the server, review the config and accept only if it matches what you intended
Step 4: Verify the connection (quick test)
In Copilot Chat, try:
“What Tailkits UI components do you have access to?”
“Show me Tailkits UI hero sections and their IDs.”
If you get component/category output (often ID-style like hero-5, pricing-2, etc.), you’re connected.
How to use Tailkits UI in VS Code
Basic usage: generate one section
Copy/paste prompt:
Create a hero section for a B2B SaaS that helps teams ship faster.
Use a Tailkits UI component and return the full HTML.
Advanced usage: generate a full landing page (consistent sections)
I’m launching a micro SaaS that tracks MRR and churn.

Build a complete landing page using Tailkits UI components:
- Hero with email capture
- 3 feature blocks
- Pricing (3 tiers)
- FAQ
- Footer

Pick components that match stylistically and keep spacing/typography consistent.
Return full HTML.
A workflow that stays clean
Ask for options by ID first
Pick the ID(s) you like
Then ask for a full page that locks those IDs in
Example:
Show me 5 Tailkits UI hero options for a developer tool. Give me the IDs only.Then:
Use hero-5. Now generate matching features, pricing, FAQ, and footer using Tailkits UI.
Return full HTML.
Customization and flexibility
Tailkits UI sections are just Tailwind + HTML, so you can:
Swap colors, spacing, typography directly in classes
Convert output into React/Next/Vue components after generation
Keep a consistent style by reusing IDs and requesting “matching” sections
Troubleshooting common issues
Issue: “Tools aren’t showing up”
Restart the MCP server from VS Code’s MCP server list
Run MCP: Reset Cached Tools (VS Code caches discovered tools)
Issue: “It connected, but results look generic”
Ask for IDs explicitly: “Use Tailkits UI components and include the IDs you used.”
Request a shortlist first, then lock the ID.
Issue: You committed a token by accident
Rotate the token in Tailkits (if available)
Remove it from git history (don’t just delete the line)
Switch to VS Code input variables so the token isn’t in the file
Ready to get started?
Get Tailkits UI (and your MCP token)
Add the server to
mcp.jsonin VS CodeEnable the tools in Copilot Chat
Generate consistent pages with component IDs—without the “AI-made” look
FAQ
Do I need to run anything locally?
No, Tailkits UI’s MCP server is hosted. You point VS Code at the URL (with your token).
Is MCP supported in VS Code?
Yes, VS Code supports MCP servers (local and remote) and lets you use their tools inside Copilot Chat.

Yucel is a digital product creator and content writer with a knack for full-stack development. He loves blending technical know-how with engaging storytelling to build practical, user-friendly solutions. When he's not coding or writing, you'll likely find him exploring new tech trends or getting inspired by nature.