 HOT
HOTTailkits UI
MCPBuild landing pages with AI
Discover our collection of Vue.js templates to build fast, interactive web applications effortlessly. Choose from premium and free options designed for developers.
 HOT
HOTBuild landing pages with AI
 HOT
HOT959 Shadcn blocks & 10+ templates

Free & Pro Tailwind CSS Templates & Themes
One pass. All WrapPixel templates.
Premium blocks & templates for high conversion and SEO

1000+ Tailwind UI components + AI Visual editor
 HOT
HOTshadcn/ui Blocks: setup, sources, tips

Clean, minimal Tailwind website template
Modern directory template

Multi-page SaaS and hiring platform landing page

20+ Tailwind Templates built with 805+ components

Coming soon email capture template
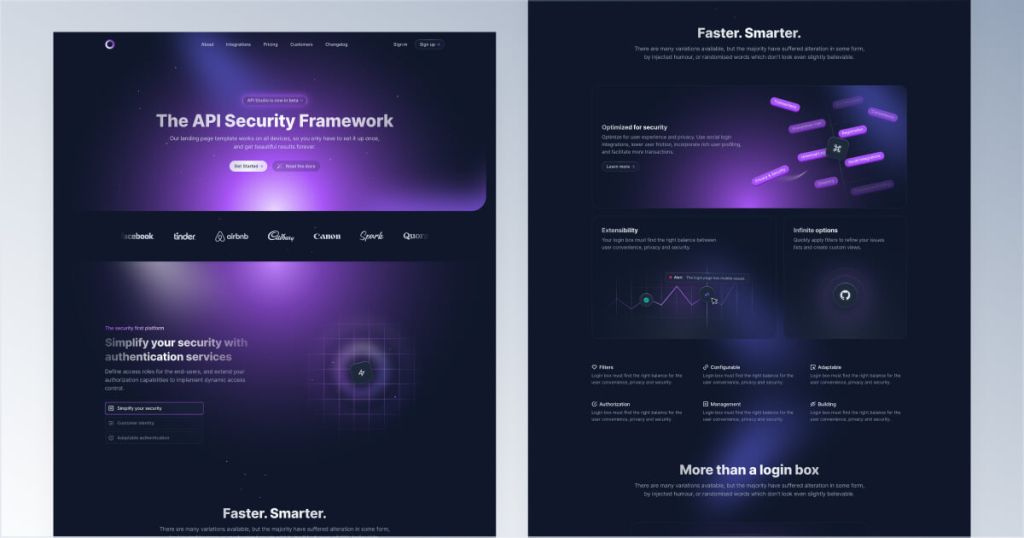
Eye-catching dark UI template for Tailwind & Next.js

Responsive Tailwind forum template
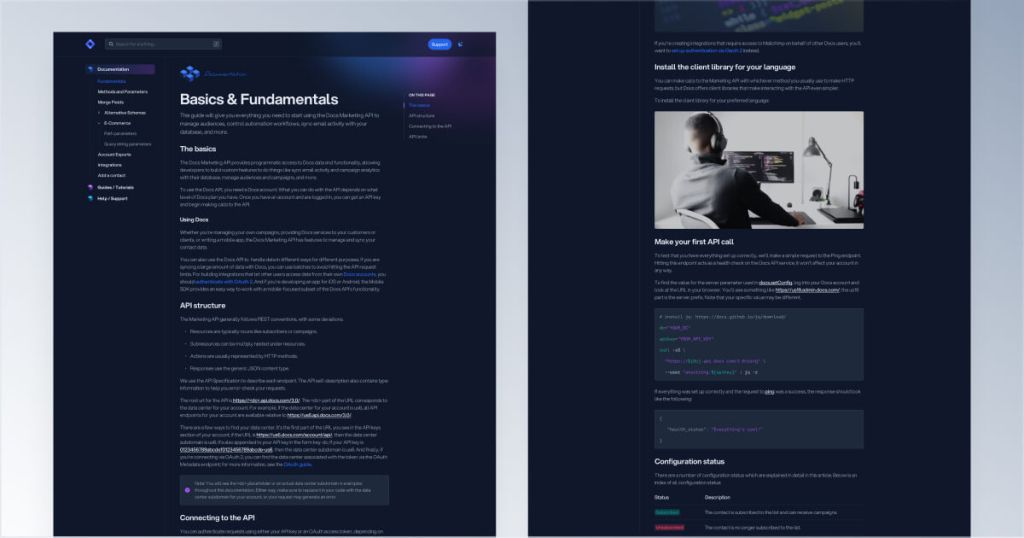
Customizable Tailwind CSS documentation kit

Next.js & Tailwind CSS landing page for finance apps.

Tailwind podcast template with built-in audio player
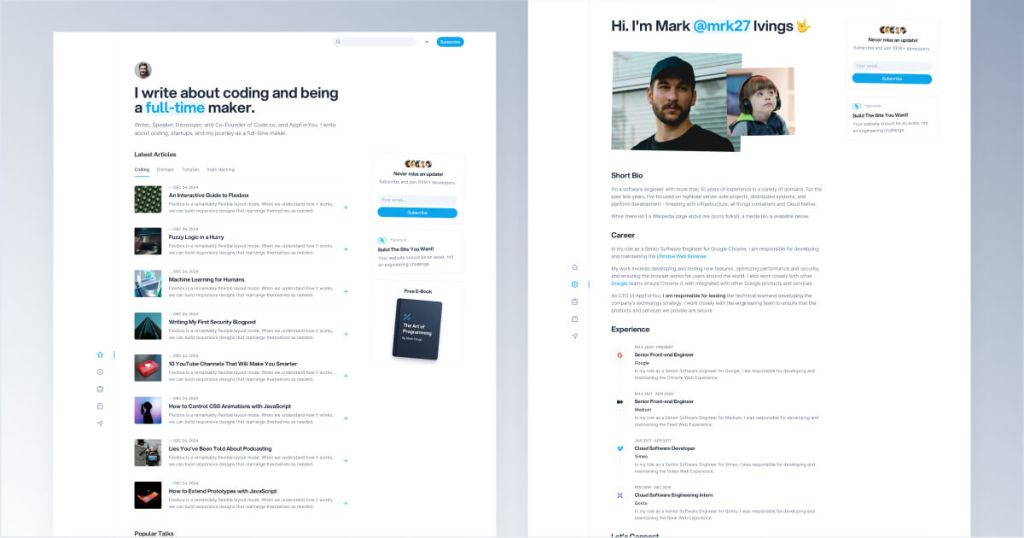
Modern Tailwind CSS blog template for developers

Modern Tailwind landing page template

Modern dark-themed landing page template
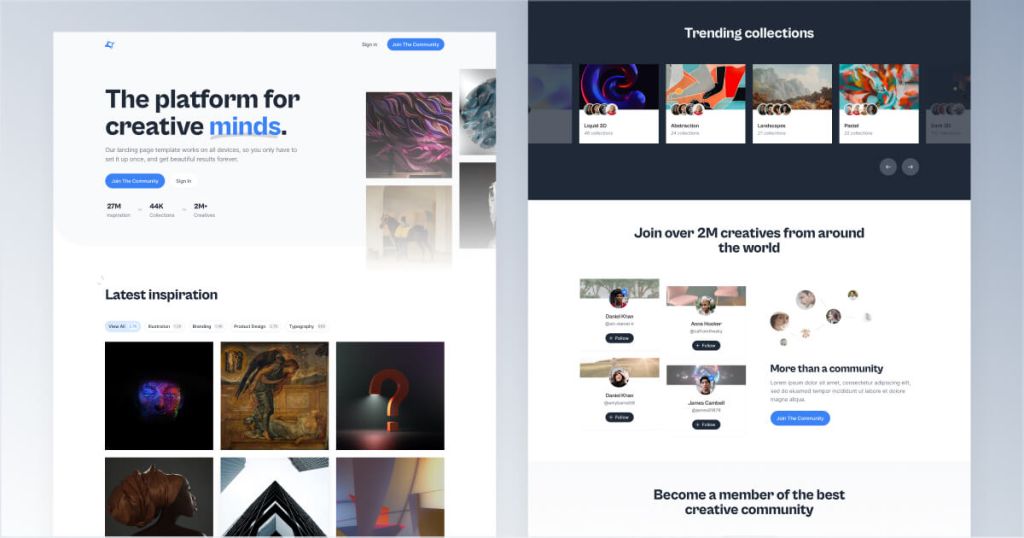
Tailwind template for creative communities
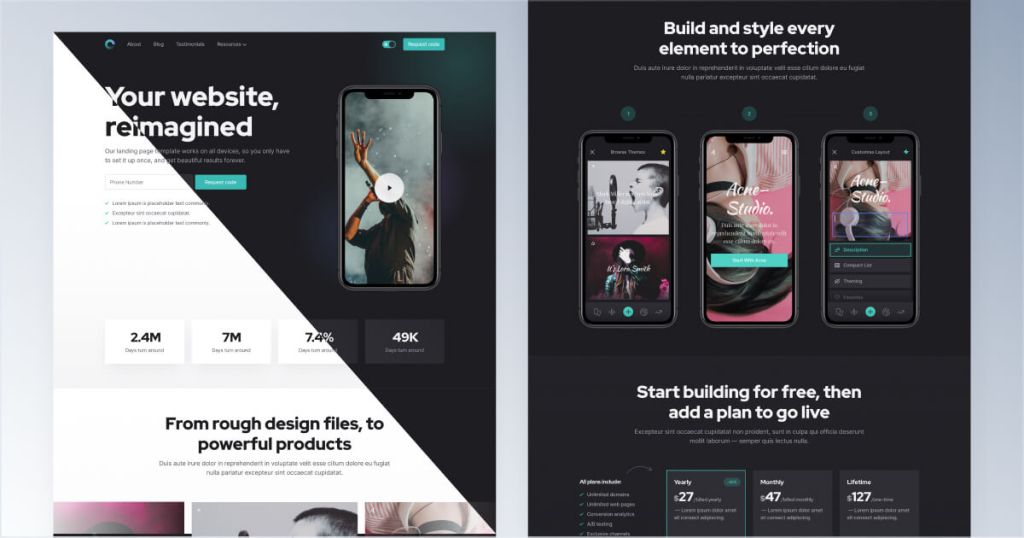
Tailwind template for mobile apps

12-page corporate website template
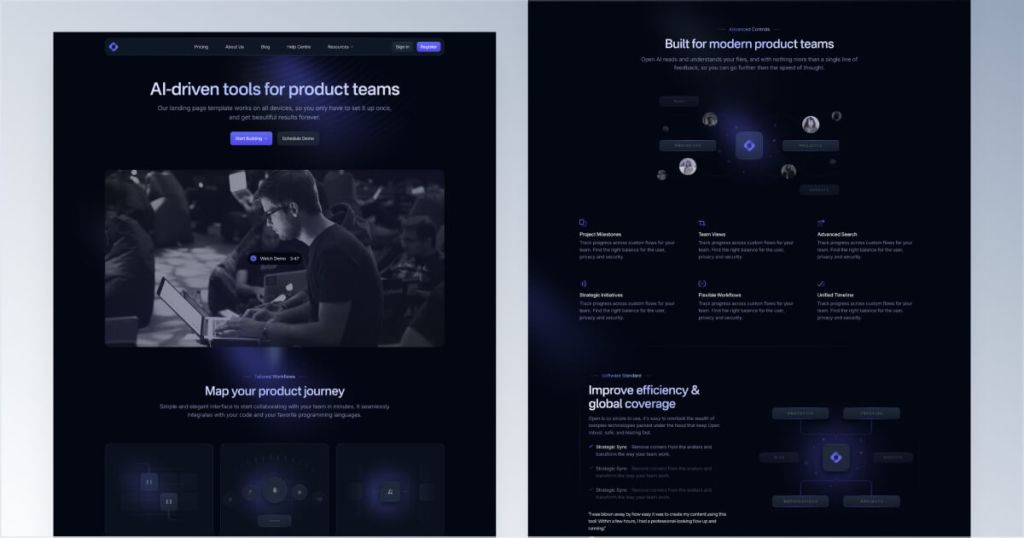
12 page Sleek SaaS template for startups

Tailwind CSS job board template
The best Tailwind templates & UI kits for landing pages & dashboards.
Vue Templates are HTML-based structures that allow you to declaratively bind the rendered DOM to the underlying Vue instance’s data. They are a part of Vue's component system and enable you to define how your application should look and behave based on the data and logic you provide.
Templates in Vue are compiled into render functions, which in turn generate the Virtual DOM, making updates efficient and reactive.
Key Characteristics:
Declarative Rendering: Focuses on what the UI should look like, not how to manipulate the DOM to achieve that.
Reactive: Automatically updates when data changes.
Expressive: Supports various directives and bindings for complex UI interactions.
Vue's template syntax is designed to be familiar to anyone with HTML experience. It leverages standard HTML while introducing special syntax to bind data and perform actions.
Interpolation allows you to display data from the Vue instance in the DOM.
Mustache Syntax ({{ }}):
<div id="app">
  <p>{{ message }}</p>
</div>

<script>
  new Vue({
    el: '#app',
    data: {
      message: 'Hello, Vue!'
    }
  });
</script>
Output:
Hello, Vue!HTML Interpolation:
To render HTML in the interpolation, use the v-html directive to avoid security risks like XSS.
<div id="app">
  <div v-html="rawHtml"></div>
</div>

<script>
  new Vue({
    el: '#app',
    data: {
      rawHtml: '<span style="color: red">This should be red.</span>'
    }
  });
</script>
Note: Avoid using v-html with user-generated content unless it’s sanitized.
Directives are special attributes prefixed with v- that provide reactive behavior to the DOM.
v-bind: Dynamically bind one or more attributes, or a component prop to an expression.
<img v-bind:src="imageSrc" alt="Image">

<!-- Shorthand -->
<img :src="imageSrc" alt="Image">v-if, v-else-if, v-else: Conditional rendering.
<div v-if="isLoggedIn">Welcome back!</div>
<div v-else>Please log in.</div>v-for: List rendering.
<ul>
  <li v-for="item in items" :key="item.id">{{ item.name }}</li>
</ul>v-on: Event handling.
<button v-on:click="incrementCounter">Click me</button>

<!-- Shorthand -->
<button @click="incrementCounter">Click me</button>v-model: Two-way data binding.
<input v-model="searchQuery" placeholder="Search...">Handling user events like clicks, input, etc., is straightforward with v-on or its shorthand @.
Example:
<div id="app">
  <button @click="greet">Greet</button>
  <p>{{ message }}</p>
</div>

<script>
  new Vue({
    el: '#app',
    data: {
      message: ''
    },
    methods: {
      greet() {
        this.message = 'Hello, Vue!';
      }
    }
  });
</script>
When the button is clicked, it updates the message data property, which in turn displays "Hello, Vue!".
v-model creates a two-way binding on form inputs, textarea, and select elements.
Example:
<div id="app">
  <input v-model="name" placeholder="Enter your name">
  <p>Hello, {{ name }}!</p>
</div>

<script>
  new Vue({
    el: '#app',
    data: {
      name: ''
    }
  });
</script>
As the user types into the input field, the name data property updates in real-time, reflecting in the paragraph below.
Vue provides powerful directives to conditionally render elements based on the application's state.
v-if: Renders the element if the condition is true.
<div v-if="isVisible">Now you see me</div>v-else-if and v-else: Chain multiple conditions.
<div v-if="type === 'A'">Type A</div>
<div v-else-if="type === 'B'">Type B</div>
<div v-else>Unknown Type</div>v-show: Toggles the visibility of the element using CSS display. The element is always rendered but shown or hidden.
<div v-show="isVisible">I am conditionally visible</div>When to use v-if vs v-show:
Use v-if when the condition is unlikely to change frequently or the initial rendering cost is high.
Use v-show when you need to toggle visibility frequently.
Rendering lists using v-for is a common task in Vue.
Basic Example:
<div id="app">
  <ul>
    <li v-for="item in items" :key="item.id">
      {{ item.text }}
    </li>
  </ul>
</div>

<script>
  new Vue({
    el: '#app',
    data: {
      items: [
        { id: 1, text: 'Learn JavaScript' },
        { id: 2, text: 'Learn Vue.js' },
        { id: 3, text: 'Build something awesome' }
      ]
    }
  });
</script>
Using Index as Key:
While it's recommended to use a unique key, sometimes you might use the index.
<li v-for="(item, index) in items" :key="index">
  {{ index }} - {{ item }}
</li>
Binding to Component Props:
<todo-item
  v-for="item in items"
  :key="item.id"
  :todo="item">
</todo-item>
Best Practices for v-for:
Always provide a unique key to help Vue track element identity and optimize rendering.
Avoid using non-unique keys like array indices if the list can be reordered or items can be added/removed.
Vue encourages the use of components to encapsulate reusable pieces of UI.
Defining a Component:
Vue.component('todo-item', {
  props: ['todo'],
  template: '<li>{{ todo.text }}</li>'
});
Using the Component:
<div id="app">
  <ol>
    <todo-item
      v-for="item in todos"
      :key="item.id"
      :todo="item">
    </todo-item>
  </ol>
</div>

<script>
  new Vue({
    el: '#app',
    data: {
      todos: [
        { id: 1, text: 'Write documentation' },
        { id: 2, text: 'Create examples' },
        { id: 3, text: 'Release version 1.0' }
      ]
    }
  });
</script>
Single-File Components (SFCs) are a way to encapsulate a component's template, logic, and styles in a single .vue file. This approach enhances code organization and reusability, especially in larger projects.
Structure of an SFC:
<template>
  <div class="greeting">
    <h1>{{ message }}</h1>
    <button @click="changeMessage">Change Message</button>
  </div>
</template>

<script>
export default {
  data() {
    return {
      message: 'Hello from SFC!'
    };
  },
  methods: {
    changeMessage() {
      this.message = 'Message updated!';
    }
  }
};
</script>

<style scoped>
.greeting {
  text-align: center;
}

button {
  padding: 10px 20px;
  margin-top: 10px;
}
</style>
Explanation:
<template>: Defines the HTML structure.
<script>: Contains the component's JavaScript logic.
<style>: Encapsulates component-specific styles. Using the scoped attribute ensures styles apply only to this component.
Using SFCs:
To use SFCs, you typically need a build setup using tools like Vue CLI, Vite, or webpack with vue-loader.
Example:
Assuming you have a component HelloWorld.vue:
<template>
  <div>
    <h1>{{ title }}</h1>
  </div>
</template>

<script>
export default {
  data() {
    return {
      title: 'Hello, Single-File Component!'
    };
  }
};
</script>

<style scoped>
h1 {
  color: blue;
}
</style>
You can import and use it in another component or your main application file:
<template>
  <div>
    <HelloWorld />
  </div>
</template>

<script>
import HelloWorld from './components/HelloWorld.vue';

export default {
  components: {
    HelloWorld
  }
};
</script>Use Meaningful Keys with v-for: Always provide unique keys to help Vue optimize rendering.
<div v-for="item in items" :key="item.id">{{ item.name }}</div>Keep Templates Clean: Avoid embedding complex logic directly in the template. Use computed properties or methods instead.
<!-- Bad -->
<div>{{ user.firstName + ' ' + user.lastName }}</div>

<!-- Good -->
<div>{{ fullName }}</div>

<!-- In script -->
computed: {
  fullName() {
    return `${this.user.firstName} ${this.user.lastName}`;
  }
}
Limit Template Logic: Templates should primarily handle data bindings and simple conditionals. Complex operations should reside in methods or computed properties.
Use Components Wisely: Break down large templates into smaller, reusable components to enhance maintainability and reusability.
Scoped Styles: When using SFCs, leverage scoped styles to prevent CSS conflicts.
Accessibility: Ensure your templates are accessible by using proper HTML semantics and ARIA attributes where necessary.
Slots allow you to compose components by inserting content into a component from the parent.
Basic Slot:
<!-- Parent Component -->
<base-layout>
  <p>This is injected into the slot.</p>
</base-layout>
<!-- BaseLayout.vue -->
<template>
  <div class="layout">
    <header>Header Content</header>
    <main>
      <slot></slot>
    </main>
    <footer>Footer Content</footer>
  </div>
</template>
Named Slots:
<!-- Parent Component -->
<base-layout>
  <template v-slot:header>
    <h1>Custom Header</h1>
  </template>

  <p>Main content goes here.</p>

  <template v-slot:footer>
    <p>Custom Footer</p>
  </template>
</base-layout>
<!-- BaseLayout.vue -->
<template>
  <div class="layout">
    <header>
      <slot name="header">Default Header</slot>
    </header>
    <main>
      <slot></slot>
    </main>
    <footer>
      <slot name="footer">Default Footer</slot>
    </footer>
  </div>
</template>
Scoped Slots:
Allow the child component to pass data to the slot content.
<!-- Child Component -->
<template>
  <div>
    <slot :user="userData"></slot>
  </div>
</template>

<script>
export default {
  data() {
    return {
      userData: { name: 'John Doe', age: 30 }
    };
  }
};
</script>
<!-- Parent Component -->
<child-component>
  <template v-slot:default="{ user }">
    <p>Name: {{ user.name }}</p>
    <p>Age: {{ user.age }}</p>
  </template>
</child-component>
Vue allows you to switch components dynamically using the <component> element.
Example:
<div id="app">
  <button @click="currentComponent = 'component-a'">Show A</button>
  <button @click="currentComponent = 'component-b'">Show B</button>

  <component :is="currentComponent"></component>
</div>

<script>
Vue.component('component-a', {
  template: '<div>Component A</div>'
});

Vue.component('component-b', {
  template: '<div>Component B</div>'
});

new Vue({
  el: '#app',
  data: {
    currentComponent: 'component-a'
  }
});
</script>
You can reference DOM elements or child components using the ref attribute.
Example:
<div id="app">
  <input ref="inputField" placeholder="Focus me with button"/>
  <button @click="focusInput">Focus Input</button>
</div>

<script>
new Vue({
  el: '#app',
  methods: {
    focusInput() {
      this.$refs.inputField.focus();
    }
  }
});
</script>
While Vue templates are powerful, there are scenarios where using render functions provides more flexibility.
Example:
new Vue({
  el: '#app',
  render(createElement) {
    return createElement('h1', 'Hello from Render Function!');
  }
});
Note: Render functions are generally used in advanced use cases or libraries.
Vue Templates offer a robust and intuitive way to define your application's UI by combining the flexibility of HTML with the power of Vue's reactive system. By understanding and leveraging features like directives, components, slots, and conditional rendering, you can build dynamic, maintainable, and efficient user interfaces.
Key Takeaways:
Declarative Syntax: Focus on what to render instead of how to manipulate the DOM.
Reactivity: Templates automatically update when the underlying data changes.
Component-Based Architecture: Enhance reusability and organization.
Single-File Components: Encapsulate template, logic, and styles for better maintainability.
As you continue to work with Vue, practicing these template concepts will help you build scalable and performant applications with ease.
You can find answers for commonly asked questions about templates.
Vue.js is a progressive JavaScript framework for building user interfaces. It's popular because it's approachable, versatile, and performant, making it easy to integrate into projects or use for full-fledged applications.
Yes, integrating Vue.js templates with TypeScript enhances type safety and code maintainability. Here's how you can do it: Set Up a Vue + TypeScript Project: Use the Vue CLI to create a new project with TypeScript support by running vue create my-app and selecting the TypeScript option. Configure .vue Files for TypeScript: Ensure your Single File Components can handle TypeScript by using the <script lang="ts"> tag. Install Necessary Type Declarations: Add type definitions for Vue and any other libraries using npm or yarn, such as npm install --save-dev @types/vue. Modify Existing Templates: Refactor the JavaScript code in your template's components to TypeScript, adding type annotations and interfaces as needed. Update Build Tools: Configure Webpack or Vite to handle TypeScript compilation if not already set up by the Vue CLI.
Customizing a Vue.js admin template involves several steps to tailor it to your project's needs: Understand the Template Structure: Familiarize yourself with the template's file organization, components, and dependencies. Modify Theme Settings: If the template uses a UI framework like Vuetify or Element UI, adjust the theme configurations to match your brand colors and typography. Extend or Replace Components: Add new components or modify existing ones to include the specific features your project requires. Optimize Performance: Remove any unnecessary components or libraries to reduce bloat and improve loading times. Update Routing and State Management: Adjust the Vue Router and Vuex (or other state management libraries) settings to align with your application's navigation flow and data handling needs.