Tailwind: !important & Selector Guide
Solve Specificity with Tailwind !important
Tailwind CSS is a framework that lets you build custom designs quickly using utility classes. Instead of writing long lines of custom CSS, you can compose your styles right in your HTML. However, as projects grow and more styles get applied to an element, you might find that certain styles don’t apply as expected. This usually boils down to one thing: CSS specificity.

In this post, we’re going to explore how you can manage those conflicts using two main techniques in Tailwind: the !important modifier and the selector strategy.
Understanding CSS Specificity and !important
Before diving into Tailwind specifics, let’s take a quick look at CSS specificity. When multiple styles target the same element, the browser uses specificity rules to decide which style wins. Think of it like a tug-of-war between selectors: the more “specific” a selector is, the more weight it carries.
What is !important?
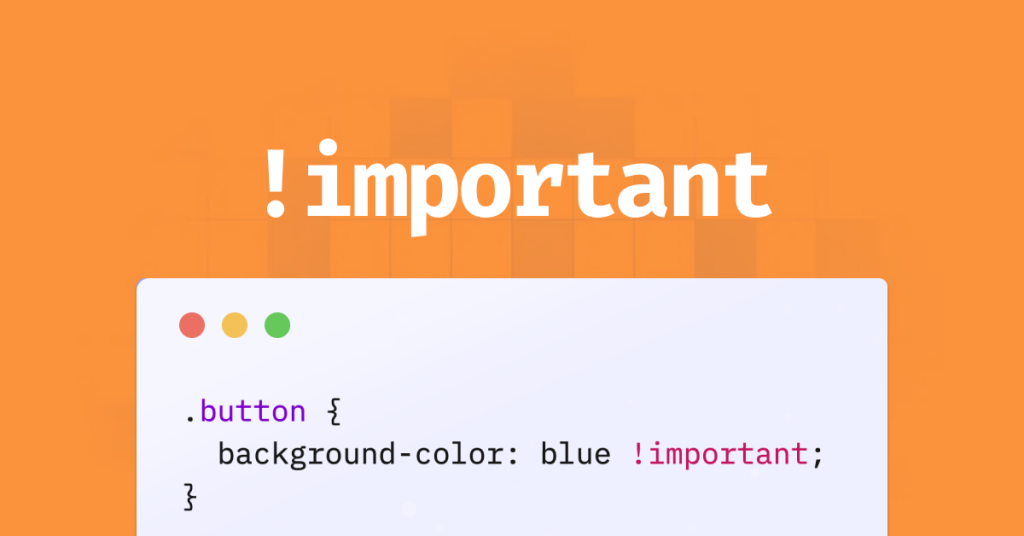
The !important declaration is a way to force a particular style to override any other conflicting styles, regardless of the order or specificity of other CSS rules. For example:
.button {
  background-color: blue !important;
}
This tells the browser that, no matter what, the background should be blue. While !important is powerful, overusing it can lead to messy, hard-to-maintain CSS.
Specificity Basics
In CSS, specificity is calculated based on the type and number of selectors:
Element selectors (like
divorp) have low specificity.Class selectors (like
.btnor.container) carry more weight.ID selectors (like
#header) are even stronger.
Tailwind CSS normally generates classes with relatively low specificity so that you can easily override them by simply adding another utility class. However, sometimes conflicts do occur, and that’s when we turn to our tools: !important and selector strategies.

Tailwind CSS Essentials
If you’re new to Tailwind CSS, here’s a quick rundown:
Utility-First: Tailwind provides a set of utility classes that you mix and match in your HTML.
Responsive Design: With built-in responsive variants (like
sm:,md:,lg:), you can design for multiple screen sizes.Customization: Tailwind is fully configurable via a
tailwind.config.jsfile, allowing you to set your own colors, spacing, fonts, and more.
Because Tailwind works by composing classes, you sometimes run into conflicts where one utility might get overridden by another, especially if there’s a specificity battle. That’s when understanding and applying !important or using a selector strategy becomes crucial.
Using !important in Tailwind CSS
Tailwind makes it really simple to apply the !important modifier. All you need to do is add an exclamation mark (!) in front of the utility class. For example:
<button class="!bg-red-500 text-white px-4 py-2">
  Click Me!
</button>
Here, the !bg-red-500 ensures that the red background color is enforced, even if other styles might try to override it.
How It Works
When you prepend ! to a utility class, Tailwind generates the corresponding CSS rule with the !important flag. This means that in the final compiled CSS, you’ll see something like:
.!bg-red-500 {
  background-color: #f56565 !important;
}
This approach is incredibly useful when:
You need to override inline styles or styles generated by third-party libraries.
You’re dealing with a component that’s coming from a framework or external codebase, and you can’t easily modify the source.
A Practical Example
Imagine you have a React component that you can’t modify directly. The component might have its own styles, but you need to change the background color. You could use the ! modifier to enforce your desired style:
<div class="component-wrapper !bg-green-500">
  <!-- Component code here -->
</div>
Even if the component has a predefined background color, your !bg-green-500 ensures that green wins in the cascade.
The Selector Strategy Explained
Sometimes, using !important everywhere isn’t the best approach. Instead, you can opt for the selector strategy. This involves configuring Tailwind to prepend a higher-specificity selector to all of its utility classes.
How Does the Selector Strategy Work?
In your tailwind.config.js file, you can set the important option to a specific selector string instead of a Boolean value. For example:
// tailwind.config.js
module.exports = {
  important: '#app',
  // ... other configurations
}
With this configuration, Tailwind generates its utilities so that they only apply when wrapped in an element with the ID app. The generated CSS would look something like this:
#app .bg-red-500 {
  background-color: #f56565;
}
Benefits of the Selector Strategy
Avoid Overusing !important: Since you’re not marking every style with
!important, you keep your CSS more maintainable.Better Integration with Third-Party Libraries: Some libraries inject inline styles that you might want to override without resorting to
!important.Scoped Styling: It forces you to wrap your application or specific sections in a designated container (in our example, an element with the ID
app). This makes it clear which part of your HTML is governed by Tailwind’s utility classes.
When to Use the Selector Strategy
If you have control over your HTML structure and can ensure that your root element matches the configured selector.
When working on projects where you want to avoid potential pitfalls of overusing
!important.
A Practical Example
Imagine you’re working on a web application where you want Tailwind’s utilities to apply only within a specific container. You can set your configuration as shown above and then structure your HTML like this:
<body>
  <div id="app">
    <header class="bg-blue-500 p-4">My Awesome App</header>
    <main class="p-6">
      <!-- Your content here -->
    </main>
  </div>
</body>
Now, all Tailwind styles will only take effect within the #app container, ensuring that any conflicting styles outside this container won’t be affected.
When to Use !important vs. Selector Strategy
Choosing between the two approaches depends on your project needs. Here’s a simple breakdown:
Use !important When:
You need to override inline styles or third-party CSS.
You’re working with isolated components where you can’t change the structure.
Quick fixes are necessary to resolve conflicts immediately.
Use the Selector Strategy When:
You have full control over your application’s HTML structure.
You want to enforce a clear boundary for where Tailwind’s styles apply.
You prefer avoiding the overuse of
!importantto keep your CSS easier to manage.
It’s also worth noting that you can mix both strategies in a project if needed. For instance, you might set a selector strategy for the bulk of your styles, and then use the ! modifier sparingly for those few cases where inline styles or external libraries need to be overridden.
Best Practices
Use Sparingly:
While the
!modifier is powerful, overusing it can lead to a tangled web of CSS rules that are hard to debug. Use it only when necessary.Keep Your Configurations Clean:
If you opt for the selector strategy, ensure your HTML structure aligns with your configuration. For example, if you set
important: '#app', make sure that your application’s root element has that ID.Document Your Decisions:
Whether you’re using the
!modifier or a selector strategy, add comments in your code explaining why you chose a particular method. This can be invaluable for future maintenance and when working with teammates.Test Responsively:
Tailwind’s responsive variants are a major strength, so ensure that your enforced styles (via
!importantor selector strategy) still behave as expected on different screen sizes.
Common Issues
Overriding Too Much:
Using
!importantexcessively can make it difficult to override styles later on, potentially leading to unexpected behaviors when components need further customization.Breaking the Cascade:
The cascade is one of the core concepts of CSS. By forcing styles with
!important, you might inadvertently disrupt the natural flow of styles, making it harder to predict which styles apply.Inconsistent HTML Structure:
When using the selector strategy, forgetting to wrap your content in the required container (e.g.,
<div id="app">) will result in Tailwind styles not being applied at all.Debugging Difficulties:
High specificity can make debugging a challenge, as it’s not always obvious which rules are taking precedence. Use browser developer tools to inspect elements and understand the applied styles.
Advanced Techniques and Customization
Once you’re comfortable with the basics of using the !important modifier and the selector strategy in Tailwind, you might want to explore some advanced techniques to further customize your setup.
Combining Both Strategies
Although Tailwind’s important configuration option accepts either a Boolean or a string, some developers have discussed the idea of combining both strategies (i.e., applying !important while also using a selector). While this isn’t supported out-of-the-box, you can simulate a similar effect by being selective in your usage.
For instance, you might use the selector strategy as your default but add ! modifiers in critical cases:
<div id="app">
  <section class="!bg-purple-500 p-8">
    <!-- This section will have a purple background that cannot be easily overridden -->
  </section>
</div>
Customizing Tailwind Config for Specific Components
If you have components that consistently need to override styles, you might consider creating custom utility classes or even a plugin that wraps certain utilities with !important. This helps encapsulate the behavior and makes your codebase cleaner.
For example, you can extend Tailwind in your tailwind.config.js:
module.exports = {
  theme: {
    extend: {
      colors: {
        'custom-red': '#ff0000',
      },
    },
  },
  plugins: [
    function ({ addUtilities }) {
      const newUtilities = {
        '.important-bg-custom-red': {
          'background-color': '#ff0000 !important',
        },
      }
      addUtilities(newUtilities, ['responsive', 'hover'])
    },
  ],
  important: '#app', // Use the selector strategy for the rest of your styles
}
Now, you have a custom utility that enforces a background color with !important while keeping the rest of your styles scoped to #app.
Leveraging Responsive Variants with !important
Tailwind’s Just-In-Time (JIT) mode makes it simple to generate utilities on the fly. This means you can combine responsive variants with the ! modifier:
<div class="md:!bg-yellow-500 lg:!bg-green-500 p-4">
  This div changes color based on screen size with enforced styles.
</div>
Here, on medium screens, the background becomes yellow with !important, and on large screens, it switches to green with the same enforcement. This approach ensures that even if other styles try to interfere, your specified colors will always be applied.
Troubleshooting
Why isn’t my !important class working?
Check your class order:
Ensure that you are not accidentally overriding your
!importantutility with another class that also uses!important.Inspect the compiled CSS:
Use your browser’s developer tools to see the actual CSS that Tailwind has generated. Look for your
!bg-red-500rule and verify that it includes!important.HTML Structure:
If you’re using the selector strategy, double-check that your content is within the correct container (e.g.,
<div id="app">).
Conclusion
CSS specificity can be a real headache, but Tailwind CSS provides you with simple yet powerful tools to manage it. Whether you choose to use the !important modifier by prefixing your classes with ! or adopt a selector strategy by configuring your project’s root element, both methods can help you maintain control over your styles and keep your designs consistent.
By following the tips in this guide and being mindful of when to use each approach, you can prevent unwanted style conflicts and create a more predictable, maintainable codebase.
FAQ
Can I disable the !important behavior if I don’t need it?
Yes, you can. Simply remove the ! prefix from your classes or change your configuration in tailwind.config.js by setting the important option to false or omitting it entirely.
When should I choose one method over the other?
Use !important for quick fixes and when you’re dealing with inline styles or third-party components. Use the selector strategy when you want a more maintainable approach and have full control over your HTML structure.

Yucel is a digital product creator and content writer with a knack for full-stack development. He loves blending technical know-how with engaging storytelling to build practical, user-friendly solutions. When he's not coding or writing, you'll likely find him exploring new tech trends or getting inspired by nature.