TL;DR
astro-seo is a lightweight component that lives in your <head> and writes every important <title>, <meta> and Open Graph tag for you. Install it with npm install astro-seo, import the <SEO /> component, and pass in page-specific props or site-wide defaults from a layout.
Advanced props cover Twitter cards, canonical URLs, language alternates and even custom link/meta tags.
Once configured, you can validate the output in DevTools or Lighthouse to confirm your Astro site is SEO-ready.


Why bother with SEO in Astro?
Astro ships zero JS by default and renders static HTML that is inherently crawl-friendly, but search engines still rely on well-formed metadata to understand and rank pages.
A missing description or wrong Open Graph image can cost clicks on Google or social media. Automating tags keeps every page consistent and prevents mistakes as your site grows.
What is astro-seo?
One-stop component – Wraps dozens of SEO tags in a single, typed component.
Next-SEO inspired – Adopts the familiar API from the popular Next.js library.
Actively used – >136 k weekly downloads on the Astro Integrations hub.
Latest version –
v0.8.4(June 1 2024).
Because it’s a plain component (not an Astro “integration”), installation is as simple as adding a dependency—no astro add step required.
Prerequisites
Node 18 + and an existing Astro project (create one with
npm create astro@latest).Basic familiarity with layouts and components in Astro.
Step 1 – Install the plugin
# pnpm
pnpm add astro-seo

# npm
npm install astro-seo

# yarn
yarn add astro-seo
Step 2 – Quick start on a single page
---
// src/pages/index.astro
import { SEO } from "astro-seo";
---
<html lang="en">
<head>
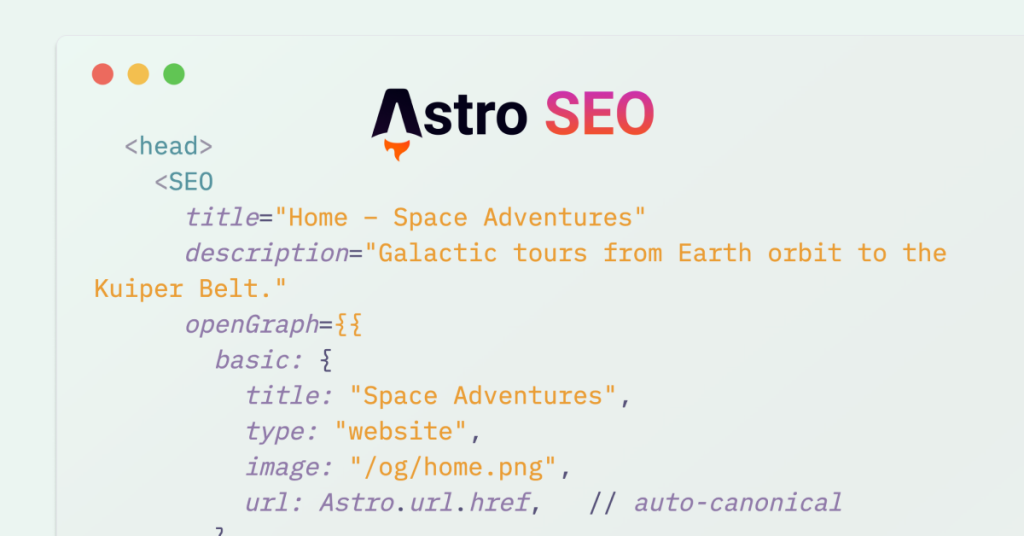
<SEO
title="Home – Space Adventures"
description="Galactic tours from Earth orbit to the Kuiper Belt."
openGraph={{
basic: {
title: "Space Adventures",
type: "website",
image: "/og/home.png",
url: Astro.url.href, // auto-canonical
},
}}
twitter={{
site: "@spaceco",
creator: "@astrodev",
card: "summary_large_image",
}}
/>
</head>
<body>
<!-- page content -->
</body>
</html>
This renders all Open Graph, Twitter and standard meta tags without hand-coding each line.
Step 3 – Centralise metadata in a global layout
Managing props per page gets repetitive. The common pattern is to import <SEO /> once inside src/layouts/BaseLayout.astro and feed it defaults from a JSON or JS module.
---
// src/layouts/BaseLayout.astro
import { SEO } from "astro-seo";
import siteDefaults from "../constants/siteData.json";

const { seo: seoOverrides = {} } = Astro.props;
const seo = { ...siteDefaults.default, ...seoOverrides };
---

<html lang="en">
  <head>
    <SEO {...seo} />
  </head>
  <body>
    <slot />   <!-- page content -->
  </body>
</html>
Then, in any page:
---
import BaseLayout from "../layouts/BaseLayout.astro";
import siteData from "../constants/siteData.json";
const { pages } = siteData;

const seo = pages.about;      // choose slice for /about
---
<BaseLayout seo={seo}>
  <h1>About us</h1>
</BaseLayout>
If a page omits props, siteDefaults.default becomes the graceful fallback.
Step 4 – Unlock advanced options
Prop | Purpose | Example |
|---|---|---|
| Append or prepend brand name automatically |
|
| Override canonical URL |
|
| Multilingual hreflang tags |
|
| Add any custom tag (e.g., favicon, theme-color) | see code below |
<SEO
  title="Mars Trips"
  extend={{
    meta: [{ name: "theme-color", content: "#ff0000" }],
    link: [{ rel: "preload", href: "/fonts/space.woff2", as: "font", type: "font/woff2", crossorigin: true }]
  }}
/>
All props are documented in the README and npm page.
Step 5 – Dynamic SEO for collections & CMS data
Because props are plain objects, you can generate them from Markdown front-matter, a headless CMS response or Astro Content Collections:
---
// src/pages/blog/[slug].astro
import { getEntryBySlug } from "astro:content";
import { SEO } from "astro-seo";

const { slug } = Astro.params;
const post = await getEntryBySlug("blog", slug);

const seo = {
  title: post.data.title,
  description: post.data.excerpt,
  openGraph: {
    basic: {
      title: post.data.title,
      type: "article",
      image: post.data.cover,
      url: Astro.url.href
    },
    article: {
      publishedTime: post.data.published,
      tags: post.data.tags
    }
  }
};
---
<SEO {...seo} />
<article>{post.content}</article>
With one component call, every blog post includes correct article metadata.
Step 6 – Validate the output
Browser DevTools – View-source or Elements panel to ensure
<meta>tags exist.Lighthouse – Run the “SEO” audit; you should see green checks for “Document has a
<title>element” and “Meta description”.Social debuggers – Facebook Sharing Debugger & Twitter Card Validator preview how your OG/Twitter tags render.
Common issues & troubleshooting
Issue | Fix |
|---|---|
| Always pass |
Charset meta appears after | Set |
Noindex accidentally true | Remember |
TypeScript warns about missing fields | Import |
Beyond the basics
Structured data – Pair with
astro-seo-schemato output JSON-LD for products, articles and breadcrumbs.Generate a sitemap – Use the official
@astrojs/sitemapintegration alongsideastro-seo.OG image automation – Combine with
astro-og-canvasto create dynamic social images.
Conclusion
astro-seo turns on-page SEO from a chore into a declarative, component-driven workflow. With one install and a handful of props, every page in your Astro project gains consistent metadata, richer social cards and fewer validation errors.
Drop it into your layout today and focus on building great content instead of remembering every last <meta> tag!
Happy coding 🚀

Yucel is a digital product creator and content writer with a knack for full-stack development. He loves blending technical know-how with engaging storytelling to build practical, user-friendly solutions. When he's not coding or writing, you'll likely find him exploring new tech trends or getting inspired by nature.